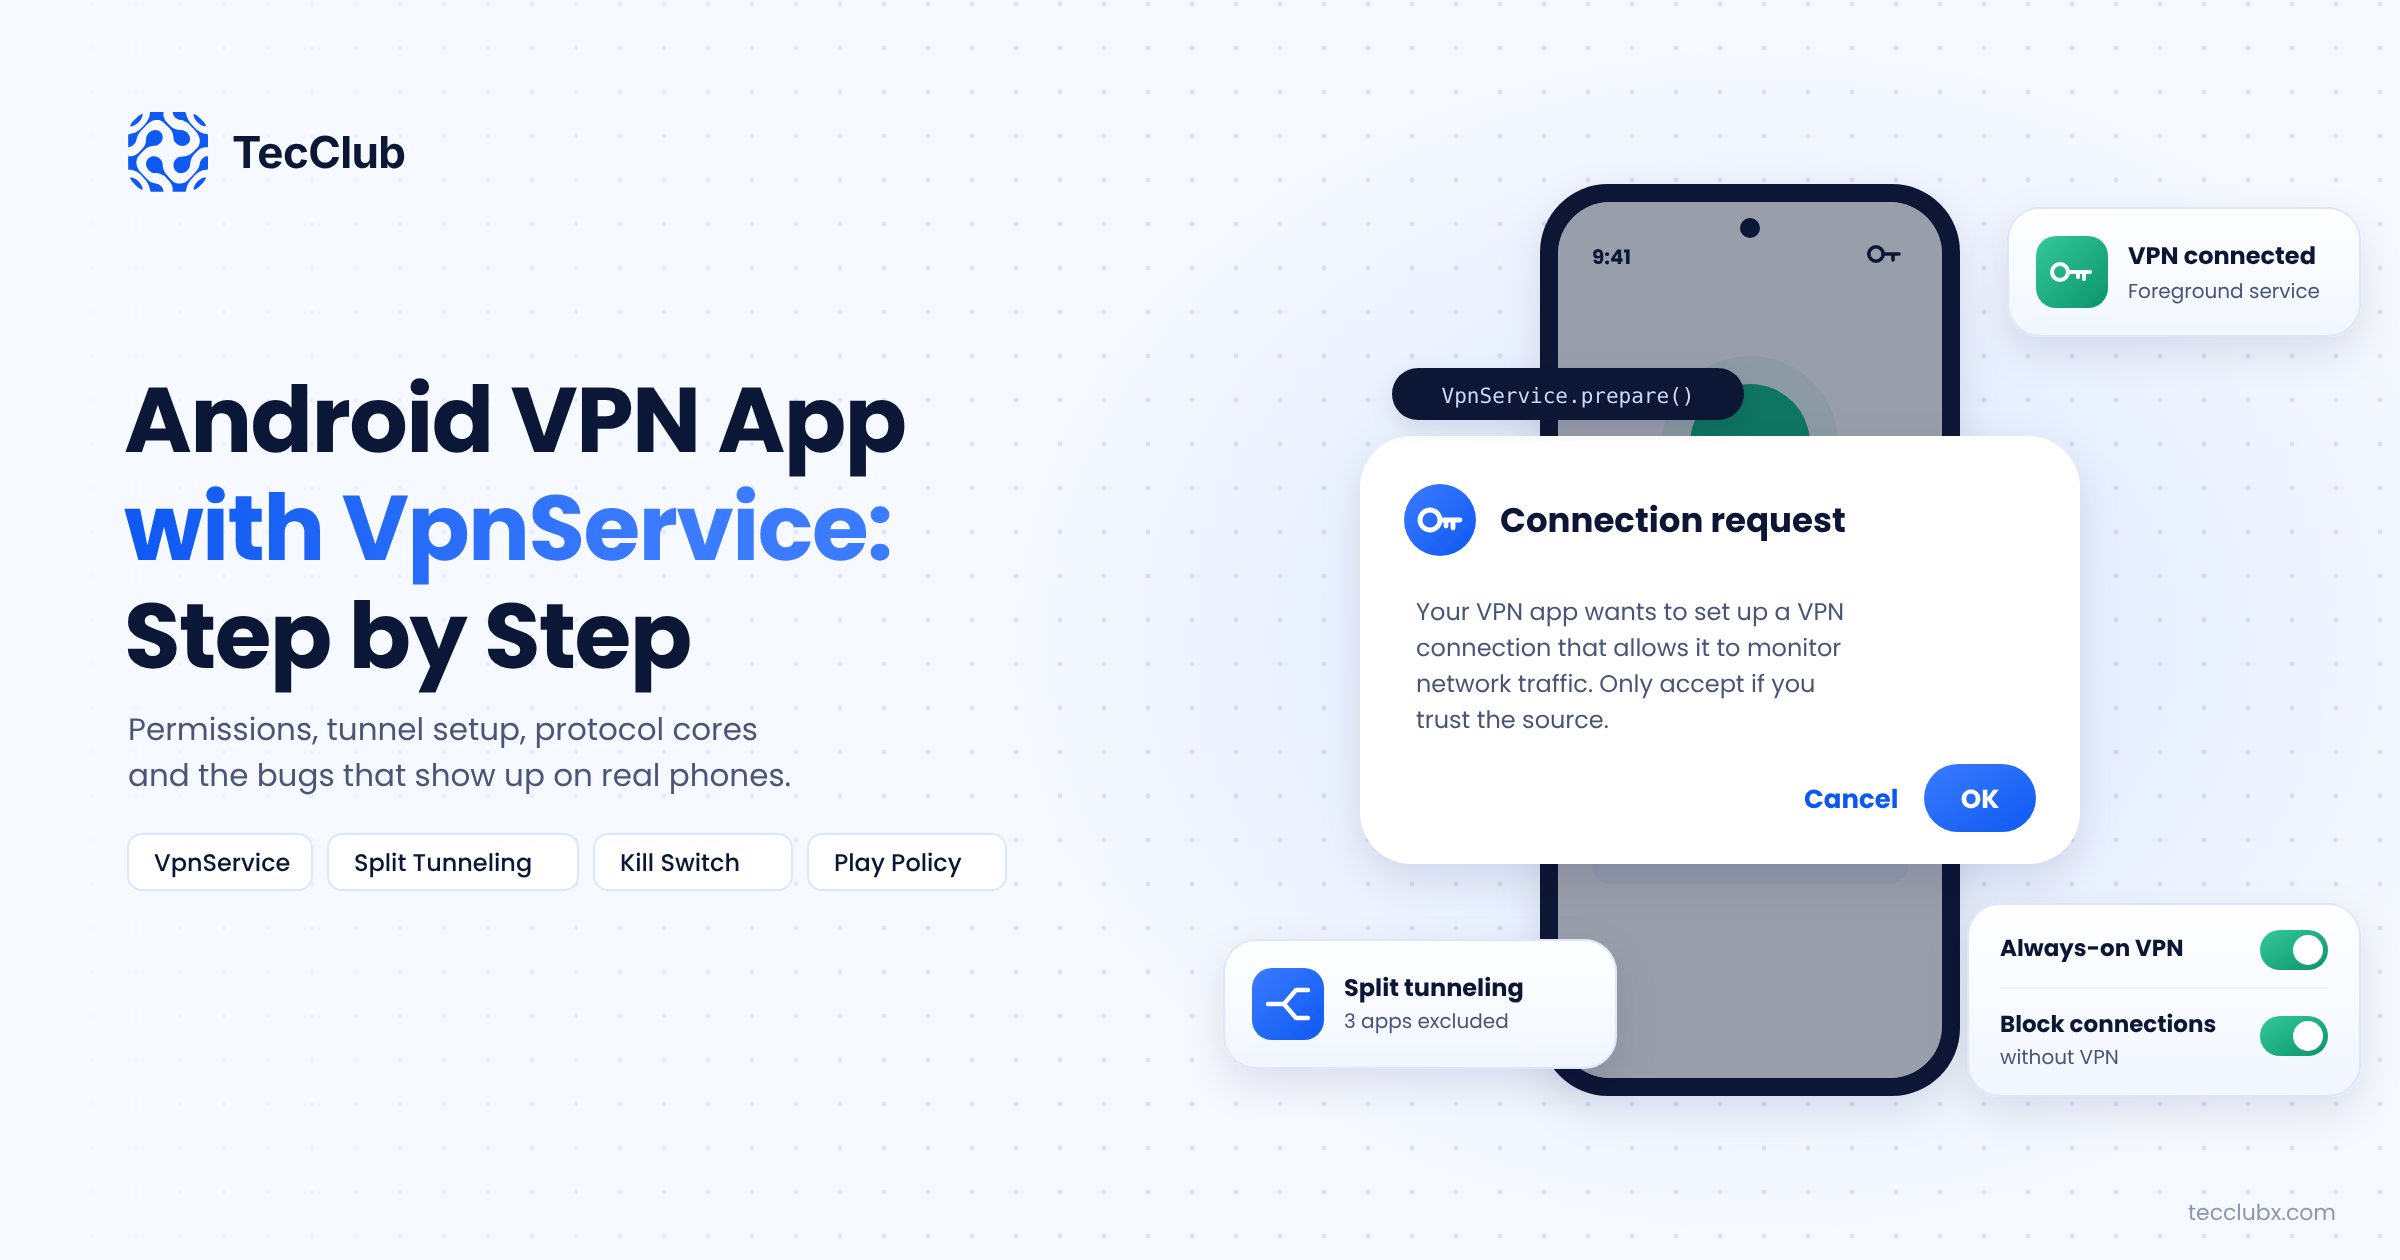
On Android, every VPN app is built on the same piece of the operating system: VpnService. It gives your app a virtual network interface, and from that moment all the device's traffic can flow through your code. That is a lot of power, and Android surrounds it with rules on permissions, foreground services, battery and Google Play policy.
We build Android VPN apps with WireGuard, OpenVPN and VLESS for our own products and for clients. This guide walks through how an Android VPN app is put together with VpnService, step by step, and the problems that usually appear only on real phones in real networks. If you are building for iPhone too, see our companion guide on building an iOS VPN app with NetworkExtension.
How an Android VPN App Works
An Android VPN app has two main parts:
- The app UI: the connect button, server list, settings and paywall.
- The VPN service: a class that extends
VpnService. It creates the tunnel interface, receives the device's packets through a file descriptor, and sends them to your VPN server using a protocol core.
Unlike iOS, the service runs in your app's own process by default, so the UI and the tunnel can share code more easily. The trade-off is that you are responsible for keeping the service alive and well behaved while the user is not looking at your app.
Step 1: Declare the Service in the Manifest
Your VPN service must be declared in AndroidManifest.xml with the android.permission.BIND_VPN_SERVICE permission and an intent filter for the android.net.VpnService action. This tells Android that only the system can bind to it.
Because a VPN runs for a long time in the background, it should run as a foreground service with a visible notification. On Android 14 and later, foreground services must declare a service type, so check which type fits your app under the current Android rules. On Android 13 and later, you also need to ask for the notification permission so the user can see the VPN status.
Step 2: Ask for VPN Permission
Before the first connection, call VpnService.prepare(context). If it returns an intent, Android needs the user's consent: launch that intent and wait for the result. If it returns null, permission was already granted.
This system dialog is a key moment for conversion. Show one short line before it explaining what it is for, so users understand that the "connection request" is expected and safe.
Step 3: Build the Tunnel
Inside the service, use VpnService.Builder to describe the virtual interface:
setSession()with your app name, which users see in system settingsaddAddress()for the tunnel's IP addressaddRoute("0.0.0.0", 0)to send all IPv4 traffic through the tunnel, plus an IPv6 route if you support IPv6 (or block it so it does not leak)addDnsServer()for your DNS serverssetMtu()to match your protocol
Then call establish(). It returns a ParcelFileDescriptor, which is the tunnel. Every packet the device sends arrives there, and every packet you write back goes to the apps.
Step 4: Protect Your Own Connection
This is the bug almost every first Android VPN build hits. Once all traffic goes into the tunnel, the connection from your app to the VPN server also tries to go into the tunnel, creating a loop that never connects.
The fix is to call protect() on the socket that talks to your server, so it goes out through the real network. Some cores handle this for you through a callback, but you must wire it up. Another option is to exclude your own app with addDisallowedApplication().
Step 5: Plug In a Protocol Core
The tunnel file descriptor is handed to a VPN core that speaks the actual protocol:
- WireGuard: the official WireGuard Android library, which includes a userspace Go backend.
- OpenVPN: commonly based on the open source ics-openvpn project. Check its license (GPL) before you build a closed-source commercial app on it.
- VLESS, Reality, Hysteria2, Shadowsocks: usually through Sing-box or Xray, compiled from Go with gomobile and given the tunnel file descriptor.
Licensing is easy to forget and painful to fix later, so review it before you pick a core, not after launch.
Split Tunneling, Kill Switch and Always-On
Split tunneling by app is built into VpnService. Use addAllowedApplication() to send only selected apps through the VPN, or addDisallowedApplication() to exclude some. You cannot use both on the same tunnel, so pick one model for your UI.
Kill switch on Android works best with the system's own feature. Users can turn on Always-on VPN and "Block connections without VPN" in system settings. Your app can check this with isAlwaysOn() and isLockdownEnabled() on newer Android versions and guide users to turn it on. In-app kill switches can block traffic while your service is running, but only lockdown mode covers the gaps when the service itself is stopped. We explain the cross-platform side in developing a VPN with kill switch, split tunneling and auto-connect.
Also handle onRevoke(). Android calls it when the user starts another VPN app or removes your permission, and your app should stop cleanly and update the UI.
Handling Network Changes and Battery
Phones switch between Wi-Fi and mobile data all day. Register a ConnectivityManager.NetworkCallback so your service can reconnect quickly when the network changes, and use setUnderlyingNetworks() so Android knows which real network the VPN is using.
Battery is the other big topic. Android's Doze mode and some phone makers' aggressive battery savers can pause or kill background services. Test on brands known for strict battery management, not only on Pixel phones, and show users how to exclude your app from battery optimization if connections keep dropping.
Google Play Rules for VPN Apps
Google Play has a specific policy for apps that use VpnService. In short, the VPN must be part of the app's core purpose, it must be declared in Play Console, and it must not be used to collect personal data, inject ads or manipulate traffic in ways users do not expect. Your Data safety section must match what the app and its SDKs really collect.
Google also requires apps to target a recent Android API level, and that deadline moves every year. Plan an update cycle from the start so your VPN app never falls behind.
Testing Before Release
- Switch between Wi-Fi and mobile data while connected
- Leave the phone locked for a few hours, then check the connection
- Test on several brands and Android versions, including low-memory phones
- Start another VPN app to confirm
onRevoke()works - Run DNS and IPv6 leak tests with the tunnel up (our VPN leak testing guide explains what to check)
- Test from the countries where your users are
Final Thoughts
VpnService makes it possible to build a full VPN app on Android, but the hard parts are around it: protecting your own socket, choosing a core with the right license, surviving network switches and battery savers, and following Google Play's VPN policy. Get those right early and the rest of the app becomes a normal Android project.
Building a VPN App for Android?
TecClub builds Android VPN apps on VpnService with WireGuard, OpenVPN, IKEv2, VLESS/Reality and Hysteria2, and takes them through Google Play review. We can build your app from scratch or fix one that keeps dropping connections.
Talk to our Android VPN team or email us at [email protected].