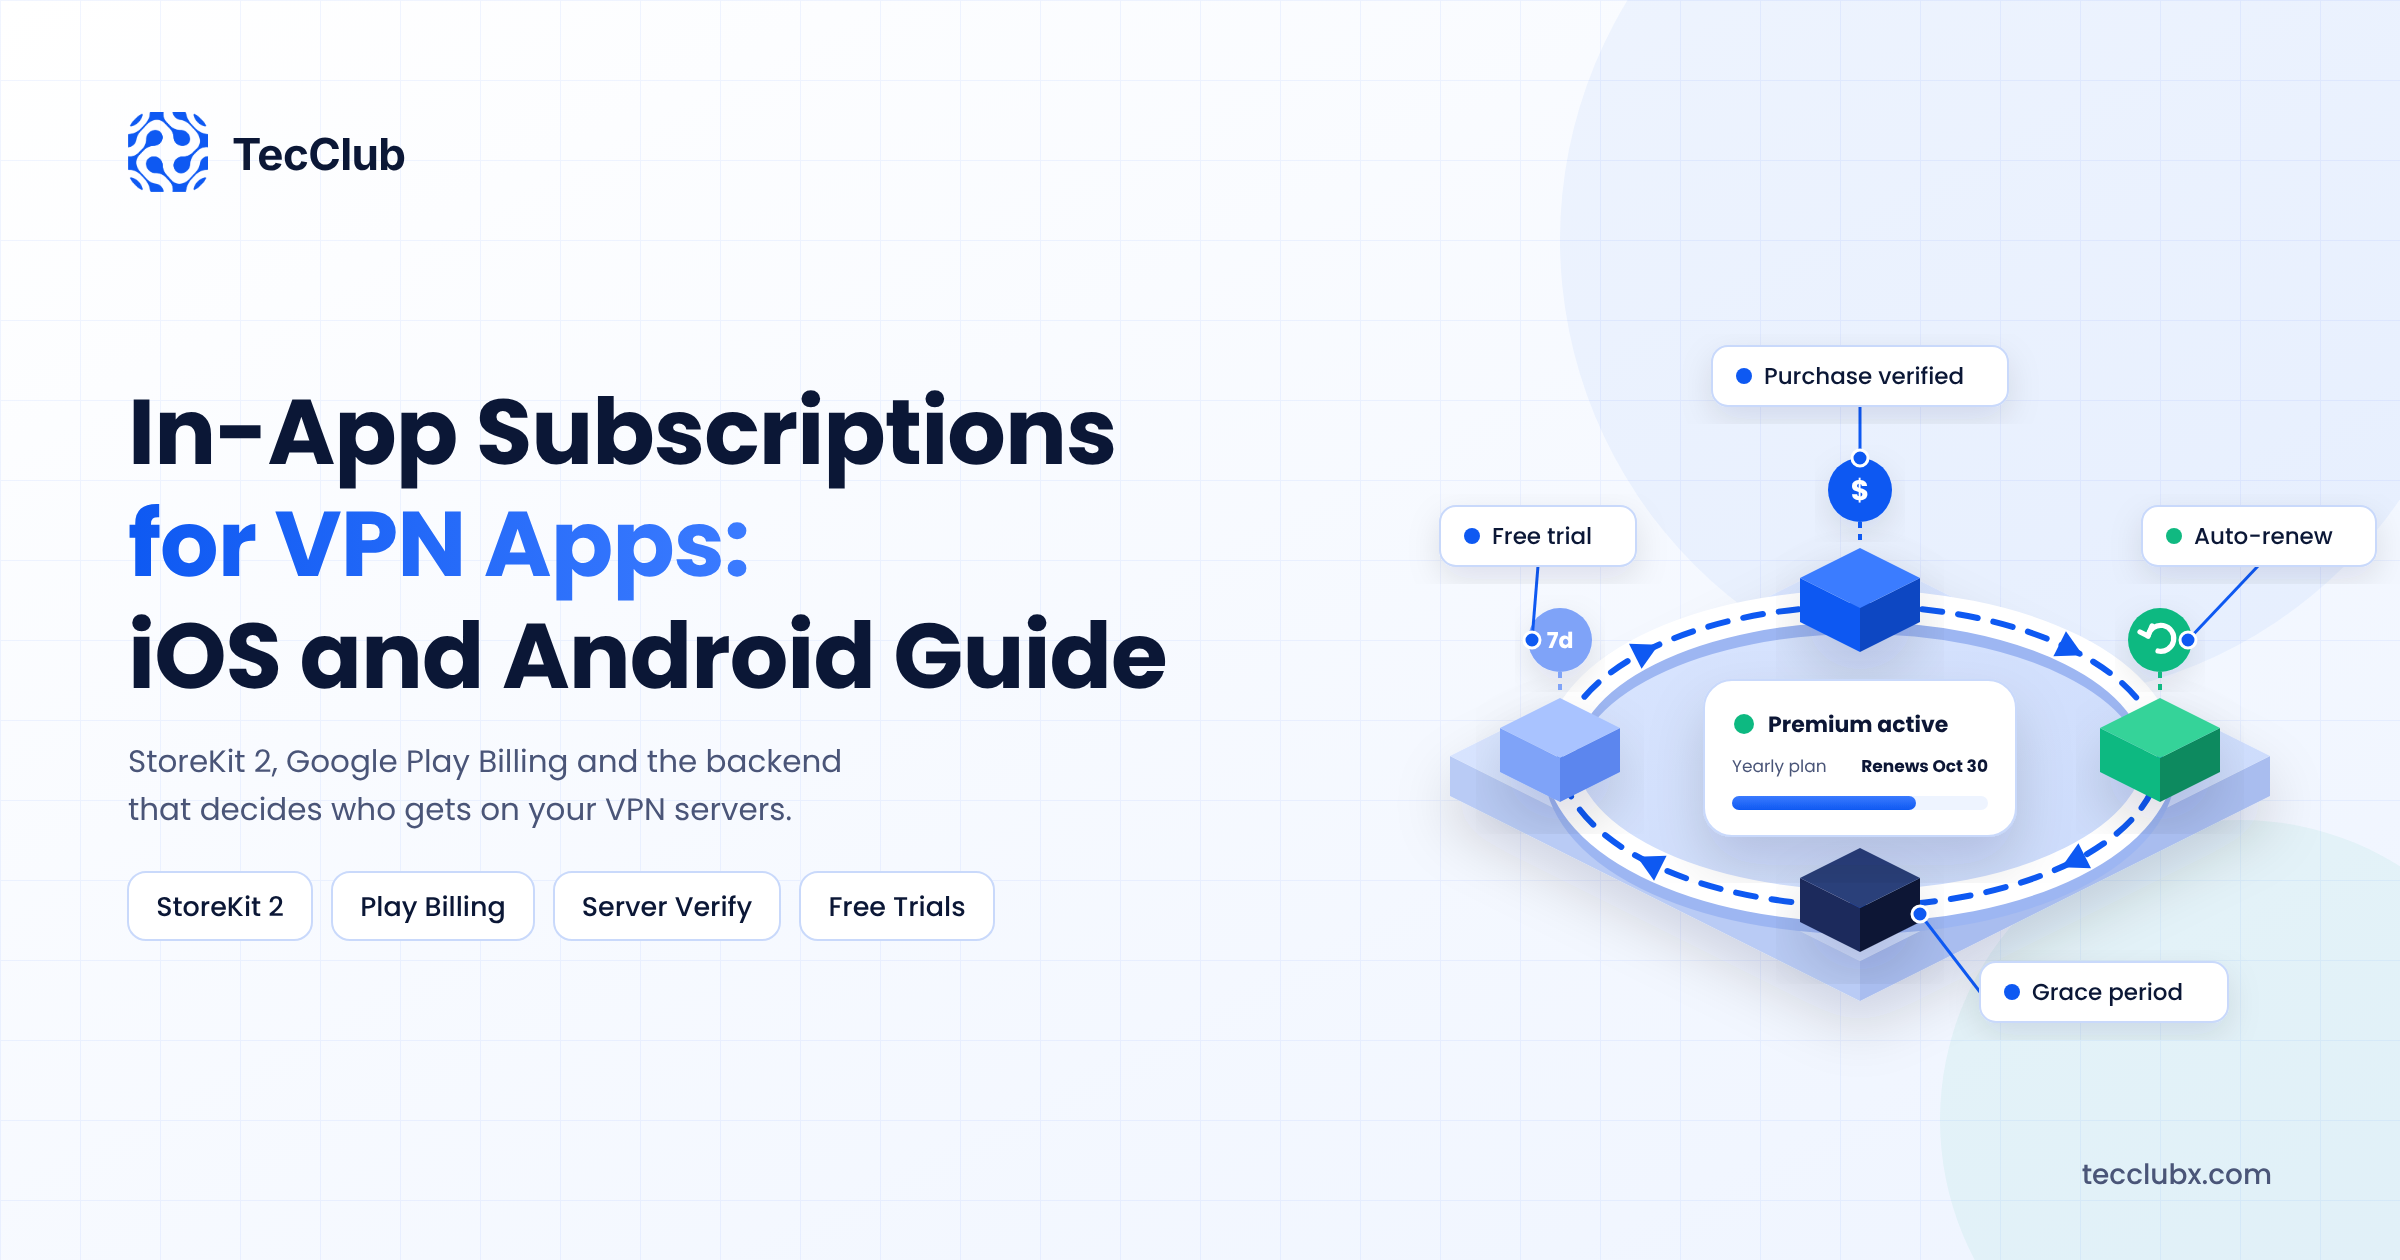
Most VPN apps make money from subscriptions, and on iPhone and Android that money has to go through Apple and Google. That means StoreKit on iOS and Google Play Billing on Android. Both look simple in the documentation. Both have details that, if you miss them, cost you real revenue: purchases that never unlock, renewals your server never hears about, and refunds you did not see coming.
We have shipped in-app subscriptions in our own VPN apps and in white-label VPN apps we build for clients. This guide walks through how to add in-app subscriptions to a VPN app on both platforms, what your backend needs to do, and the mistakes that cause failed reviews and lost subscribers. It is written for founders and developers, so we focus on the decisions and the flow rather than pasting long code blocks.
Why VPN Apps Must Use In-App Purchases
If your app sells access to a digital service inside the app, both stores require you to use their billing system for that purchase. A VPN subscription is exactly that. Apple's App Review Guidelines (section 3.1.1) and Google Play's payments policy both cover this, and a VPN app that tries to send users to an external checkout for its premium plan will usually be rejected.
There are some exceptions, for example in certain regions or for apps that let existing customers log in to an account they bought elsewhere. But for a consumer VPN app sold through the stores, plan on in-app subscriptions as your main payment path.
Plan Your Products Before You Write Any Code
The structure you set up in App Store Connect and Google Play Console is hard to change later, so decide it first.
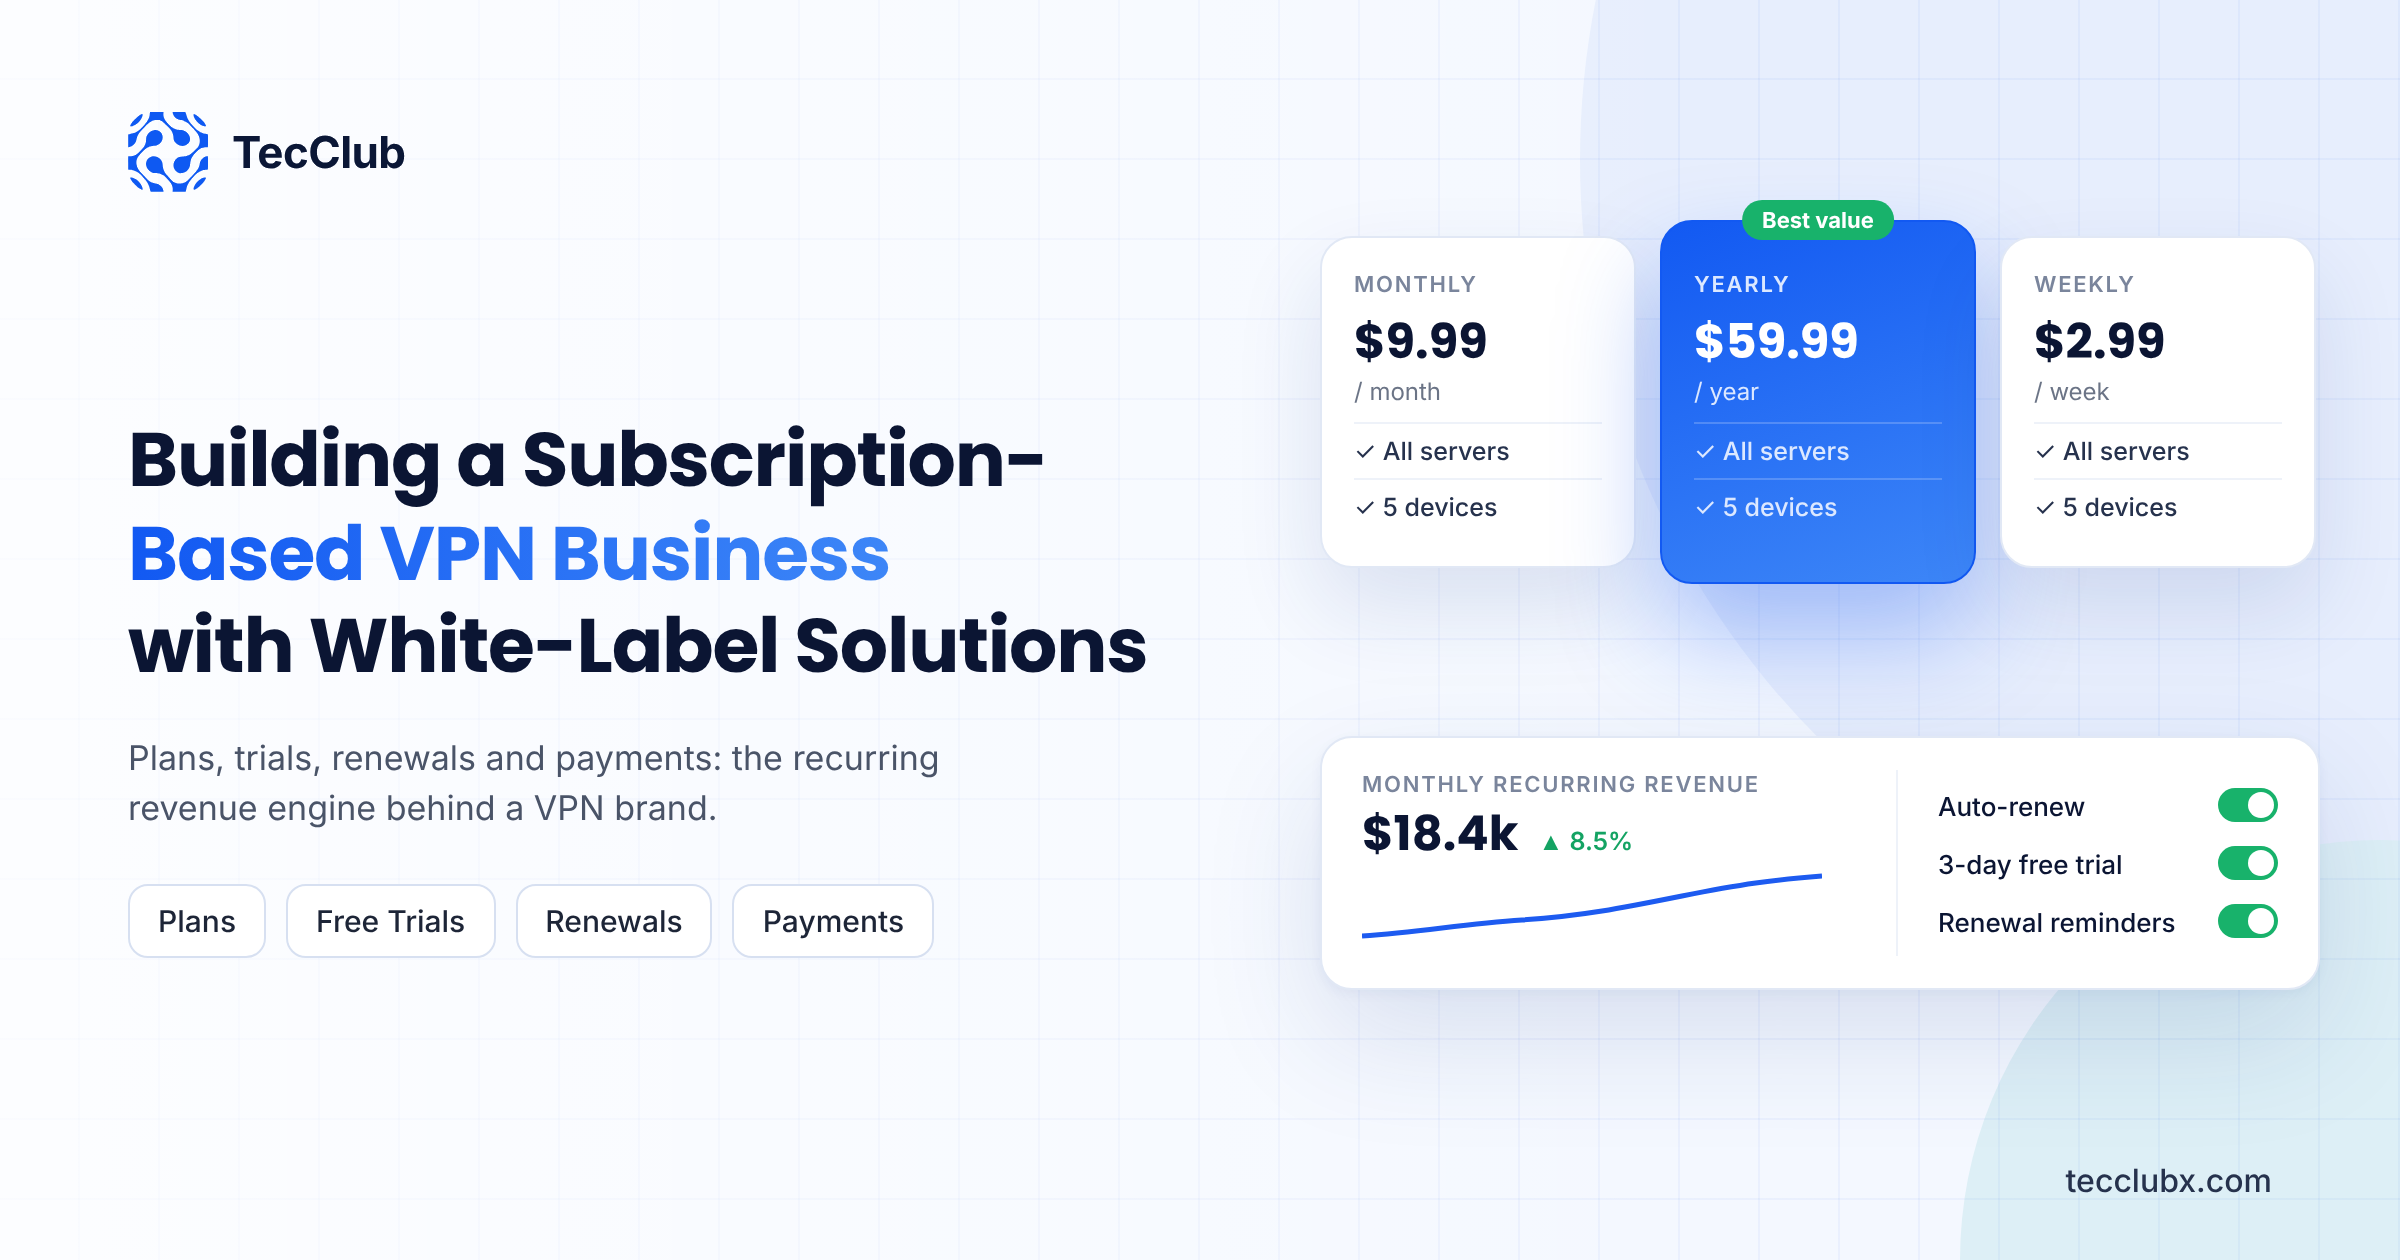
- Plans. Most VPN apps do well with two or three: monthly, yearly, and sometimes a weekly or 6-month plan. More than three usually confuses users.
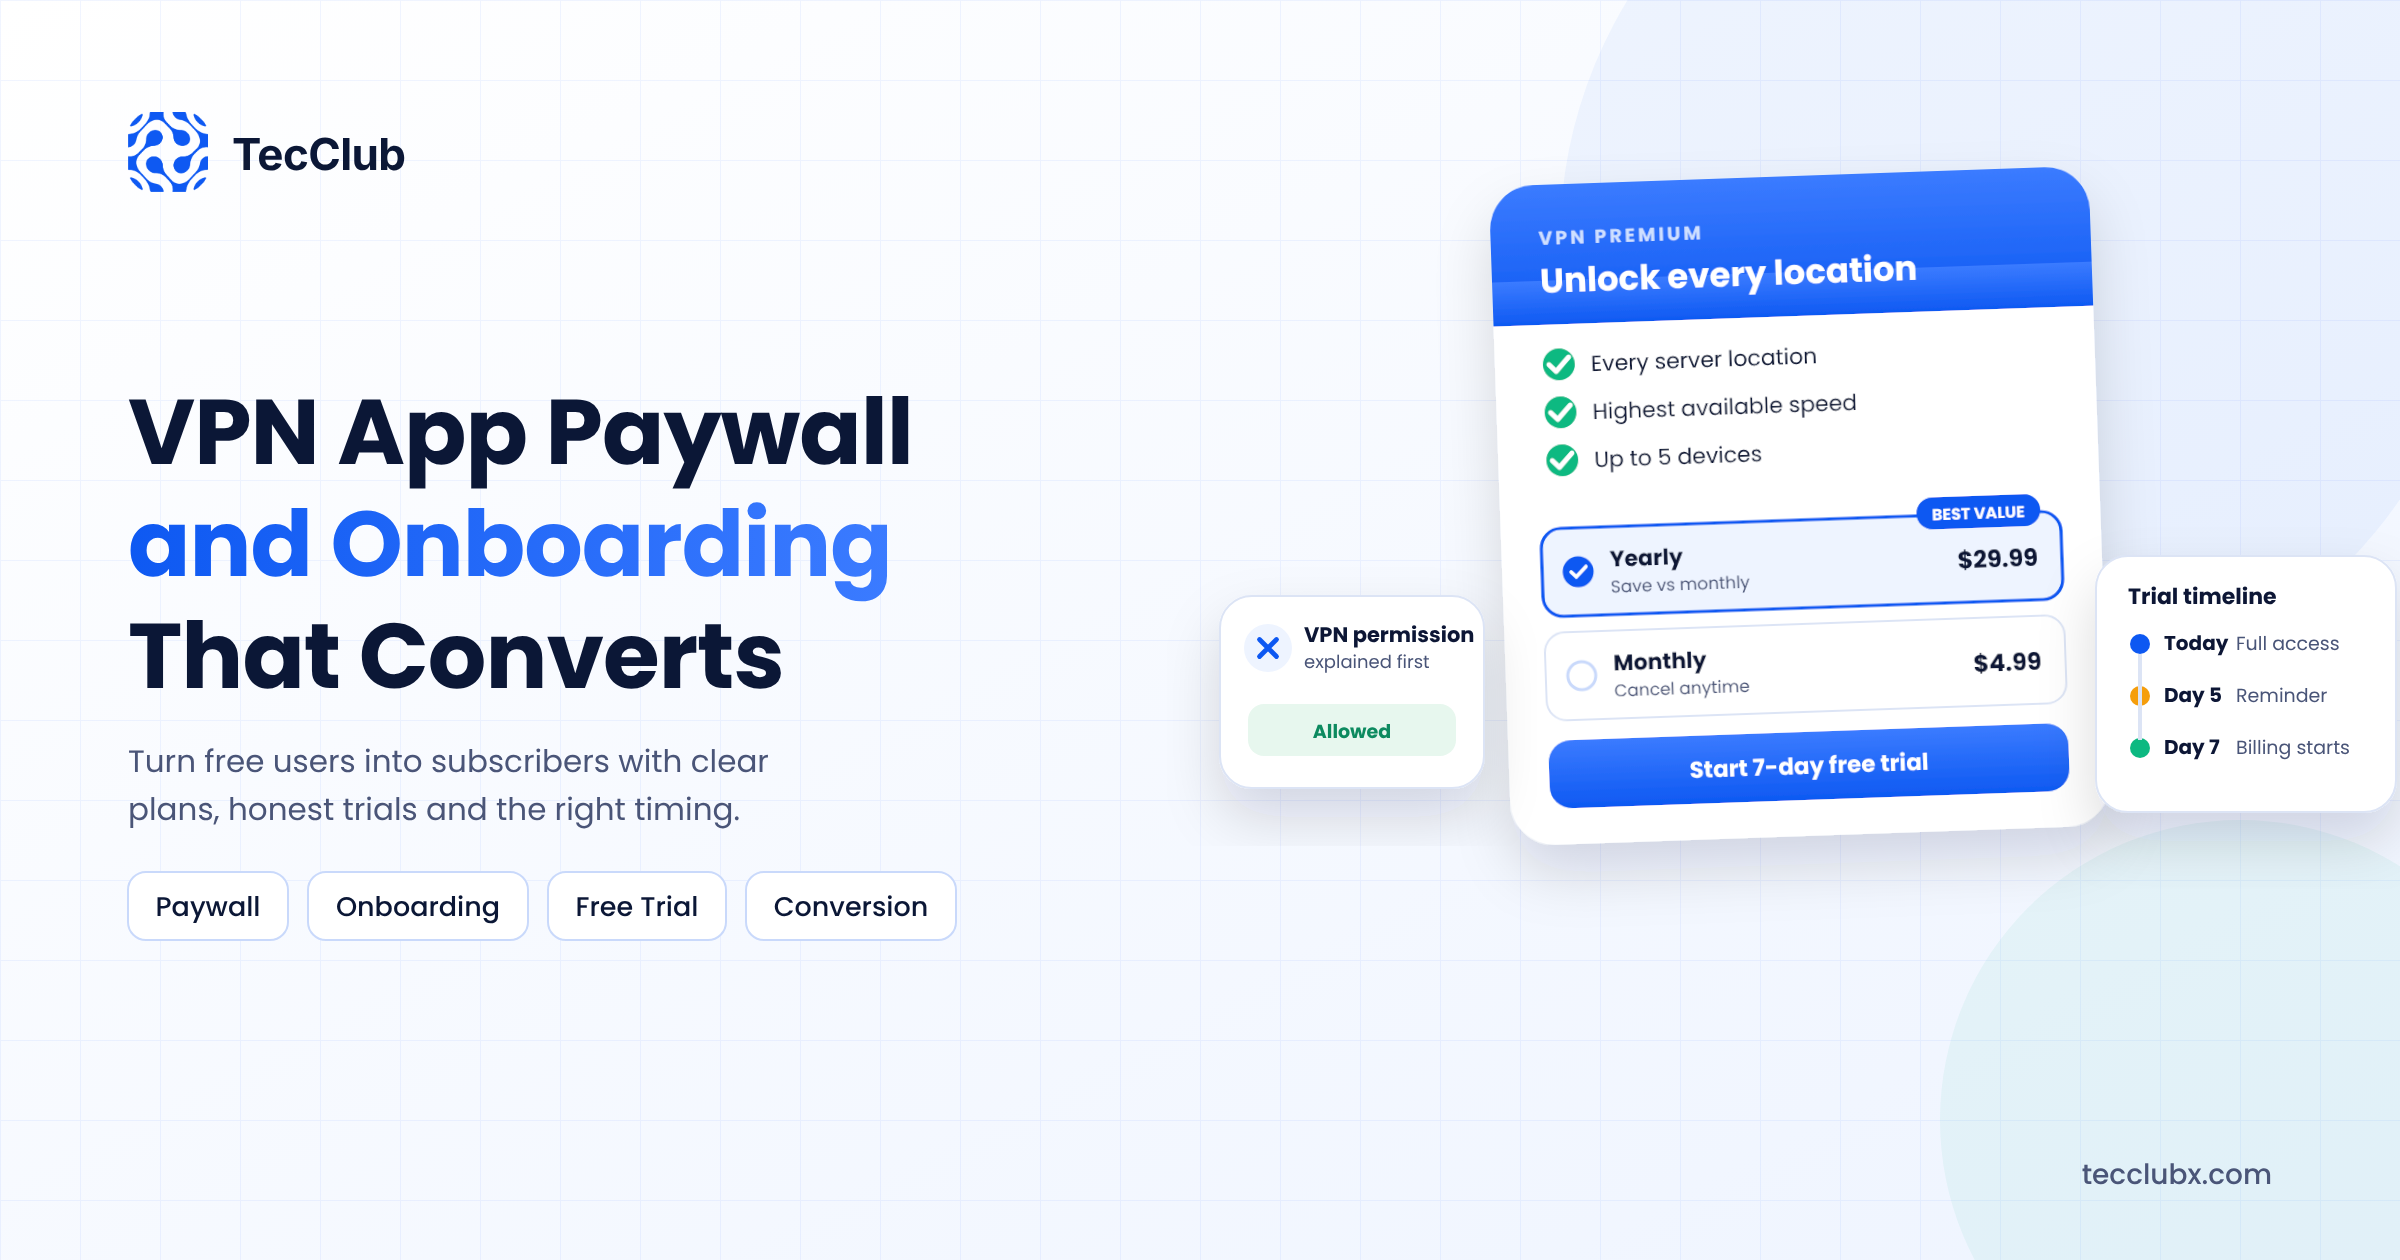
- Free trial or intro offer. A 3 or 7-day free trial on the yearly plan is common. Decide whether trials apply to all plans or just one.
- Product IDs. Use clear, permanent IDs like
vpn_premium_monthlyandvpn_premium_yearly. You cannot reuse a product ID once it is deleted. - Same plans on both stores. Keep plan names, durations and roughly equal prices on iOS and Android, so your backend can treat them the same way.
On iOS, put all VPN plans in one subscription group. A user can only hold one subscription per group, and Apple handles upgrades and downgrades between plans in the same group for you. On Android, create one subscription with multiple base plans (monthly, yearly) and add offers such as free trials on top of a base plan.
If you have not settled on pricing yet, our guide to VPN subscription pricing covers how to choose plan lengths and price points.
How to Add In-App Subscriptions on iOS with StoreKit 2
StoreKit 2 is Apple's modern, Swift-based API, and it is the one to use for new apps. It is much simpler than the original StoreKit, mainly because transactions come back already signed by Apple.
1. Load products
Fetch your plans with Product.products(for:) using your product IDs. Show prices with the localized display price the API returns, never a hard-coded price. Users in different countries see different prices and currencies.
2. Start the purchase
Call purchase() on the selected product. Pass an appAccountToken (a UUID linked to the user's account in your system). This one step saves a lot of trouble later, because every transaction and server notification will carry that token, so your backend knows exactly which user it belongs to.
3. Verify and unlock
The purchase result contains a verification result. Only unlock premium if the transaction is verified. Then send the transaction to your server, unlock access, and call finish() on the transaction. If you never call finish, StoreKit keeps delivering the same transaction again.
4. Listen for updates
Start a listener on Transaction.updates when the app launches. Renewals, purchases made on another device, refunds and Ask to Buy approvals all arrive here. Use Transaction.currentEntitlements to check what the user owns right now, for example on app start.
5. Add Restore Purchases
Apple expects a visible Restore Purchases option. With StoreKit 2, calling AppStore.sync() refreshes the user's transactions. Missing restore is one of the most common reasons subscription apps get rejected.
For testing, use a StoreKit configuration file in Xcode for fast local testing, then the App Store sandbox with sandbox tester accounts before release.
How to Add In-App Subscriptions on Android with Google Play Billing
On Android you use the Google Play Billing Library. Google regularly ends support for old versions of the library, so start with the latest version and plan to update it about once a year.
1. Connect and load products
Create a BillingClient, connect it, and query your subscriptions with queryProductDetailsAsync. Each product comes back with its base plans and offers, each with its own offer token. Show the price Google returns for the plan the user selects.
2. Launch the purchase
Call launchBillingFlow with the product details and the offer token for the chosen plan or trial. Set an obfuscatedAccountId derived from your user ID. It works like Apple's app account token and links the purchase to your user.
3. Verify, then acknowledge
When the purchase comes back in your PurchasesUpdatedListener, send the purchase token to your server and verify it there. After you grant access, the purchase must be acknowledged. If a subscription purchase is not acknowledged within three days, Google automatically refunds it and the user loses access. We have seen apps lose a full week of new subscribers to a missing acknowledge call after a refactor.
4. Handle pending purchases and restores
Some payment methods are slow, so a purchase can arrive in a pending state. Do not unlock premium until it becomes purchased. On app start, call queryPurchasesAsync to restore the user's active subscriptions.
For testing, add your team as license testers in Play Console and use a closed or internal testing track. Test subscriptions renew on a much shorter cycle, so you can watch renewals and cancellations in minutes instead of months.
Building in Flutter? The official in_app_purchase plugin wraps both StoreKit and Play Billing behind one API. It works well, but you still need to understand the platform rules above, because the edge cases are the same.
The Backend: Where VPN Apps Get It Right or Wrong
This is the part that matters most for a VPN app. Your VPN servers should only give access to users with an active subscription. If that decision is made only inside the app, anyone who modifies the app gets free premium. So the source of truth has to be your server.
- Verify every purchase on the server. On iOS, check the signed transaction and use the App Store Server API to look up subscription status. On Android, call the Google Play Developer API (the purchases.subscriptionsv2 endpoint) with the purchase token.
- Turn on server notifications. Set up App Store Server Notifications V2 and Google Play Real-time Developer Notifications. These tell your server about renewals, cancellations, billing problems, refunds and expirations, even if the user never opens the app again.
- Store one subscription record per user. Keep the original transaction ID (iOS) or purchase token (Android), the plan, expiry date and current state. Your VPN auth service checks this record before issuing server credentials.
- Handle every state, not just active and expired. Free trial, active, in grace period, on hold, paused, cancelled but not yet expired, refunded. Each one needs a clear rule for whether the user can connect.
- Revoke access on refunds. Both stores notify you of refunds. If you ignore these, users can buy, get a refund, and keep using your servers.
A good backend also makes cross-platform accounts possible. If a user subscribes on iPhone and later installs your app on Android, they can log in and keep premium, because access is tied to their account on your server, not to one store. A central admin panel for managing VPN users, devices and access makes this much easier to support.
Common Mistakes That Cost VPN Apps Subscribers
- Trusting the app instead of the server. Premium status should always be confirmed by your backend before VPN credentials are issued.
- Forgetting to acknowledge on Android. Automatic refunds after three days are silent and painful.
- No grace period. Turn on billing grace period in App Store Connect and grace period and account hold in Play Console, then keep access active during grace. This alone recovers many failed renewals.
- Unclear paywall. Show the price, billing period and what happens after the trial in plain words. Unclear trial terms are a common reason for rejection and for refund requests.
- Hard-coded prices. Always use the store's localized price.
- Missing links. Your paywall and store listing need working links to your privacy policy and terms of use.
Most of these show up during review. If you are preparing to submit, read our guide on how to pass App Store and Google Play review for a VPN app before you send the build.
Launch Checklist
Before you release, make sure you can answer yes to each of these: products and offers are live in both consoles, purchases unlock premium on a fresh install, restore works on a second device, renewals and cancellations update your server through notifications, refunds remove access, grace period keeps users connected, the paywall shows clear prices and terms, and your VPN servers refuse users whose subscription has expired.
Final Thoughts
Adding in-app subscriptions to a VPN app is less about the purchase button and more about everything around it. StoreKit 2 and Google Play Billing handle the payment. Your backend has to handle the truth: who paid, for how long, and whether they should be allowed on your servers right now.
Get the server side and the store notifications right from day one, and you will avoid the most expensive problems in subscription apps: users who paid but cannot connect, and users who did not pay but can. If you are still deciding how your app will make money, start with our overview of how to monetize a VPN app.
Need In-App Subscriptions Built Into Your VPN App?
TecClub builds VPN apps for iOS, Android and Flutter with StoreKit 2, Google Play Billing and server-side subscription verification already in place. We also build the VPN backend that checks every subscription before granting access.
Talk to our team about your VPN app or email us at [email protected].